Migrate your application secrets in Vault (step 3)
Static secrets or dynamic, these concepts will hold no secrets for you after our first two posts. However, do you think you’ve exploited all of the Vault’s security features? And yet, there is one final feature to help increase the security of your application: Encryption as a Service.
This post is part of a series:
- Post 1 : Migrate static secrets
- Post 2 : Migrate dynamic secrets (Secret as a Service)
- Post 3 : Encryption as a service
Data encryption with Encryption as a Service
In the last two posts, we had the opportunity to see the two most important features of the Hashicorp Vault: managing static secrets and dynamic secrets.
However, there is one last feature, a little less known but just as successful : l’Encryption as a Service (EaaS).
Using this method within an application achieves several goals:
- Vault supports data encryption and decryption.
- Vault support for storage and management of encryption / decryption keys.
- Ease of encryption / decryption keys rotation.
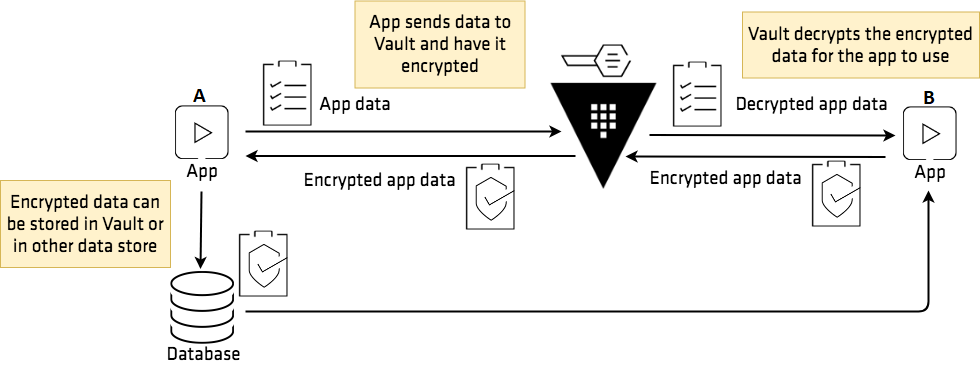
Prenons l’exemple ci-dessous :
 (Source: https://learn.hashicorp.com/vault/encryption-as-a-service/eaas-transit)
We have two apps (A on the left and B on the right), a database used by both apps and finally Vault. The need is to cover the encryption of data within the database.
To do this, Application A will send its data to Vault (via HTTPS), which will encrypt it and then send it back to the application, which can then store it in its database.
Subsequently, Application B can retrieve the encrypted data, send it to Vault, which will decrypt it and send the decrypted data back (via HTTPS).
In our application example, we will start from the previous step (dynamic secrets: seen in post 2) and encrypt / decrypt the data stored in the database through the Vault. We are therefore going to change the application workflow so that the data encryption and decryption operations are done on the Vault side.
To make our work as close as possible to a real service context, we have added a column to our test table which will be used to store alphanumeric values.
You will find the sources to implement this solution here.
What changes are being made?
In the same logic as during the dynamic secrets stage, two major changes should be noted on the Terraform and application side.
On the one hand, the application workflow has been modified: code transformation to include the data encryption part with Vault.
We therefore add, at the level of file, a few lines of code to encode our sensitive data in base 64 (required by Vault) and then send it to the Vault server.
In return, we get our data encrypted by Vault, which we will store in our database.
On the other hand, a change is taking place at Terraform level:
- Implementation of a new path called “transit”, which will be used for Encryption as a Service.
- Creation of a transit key in the following path: transit/keys/web
- Adding to the application the right to encrypt its data using the previously created key.
As we can see, these changes are only minor additions as most of it has been done in the previous example (post 2).
Testing our example
The deployment of our infrastructure and application is done in the same way as in the previous example, the authentication method remaining the same: Approle (for more details on Approle, see this post).
Let’s start with the infrastructure:
- Initialization of the terraform folder in order to retrieve the right providers:
$ docker run –rm -v $(pwd)/terraform:/app/ -w /app/ hashicorp/terraform:light init - Deployment of our infrastructure:
$ docker-compose up
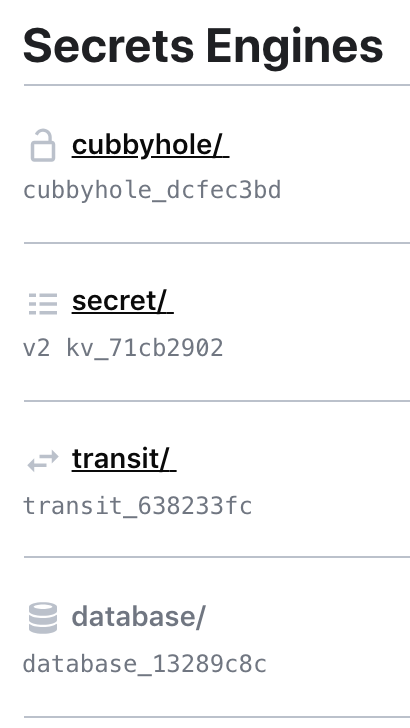
Our infrastructure is now operational and we can see on the Vault (accessible via: http://127.0.0.1:8200) the addition of a new Secret Engine: Transit
Now, it’s time for the application:
$ role_id=$(docker run –rm -v $(pwd)/terraform:/app/ -w /app/ hashicorp/terraform:light output approle_role_id)
$ secret_id=$(docker run –rm -v $(pwd)/terraform:/app/ -w /app/ hashicorp/terraform:light output approle_secret_id)
$ docker-compose -f app.yml run -e VLT_ROLE_ID=$role_id -e VLT_SECRET_ID=$secret_id –service-ports web
Our app is available at the following address: http://127.0.0.1:8080.
New information appears, namely our data encrypted by Vault:
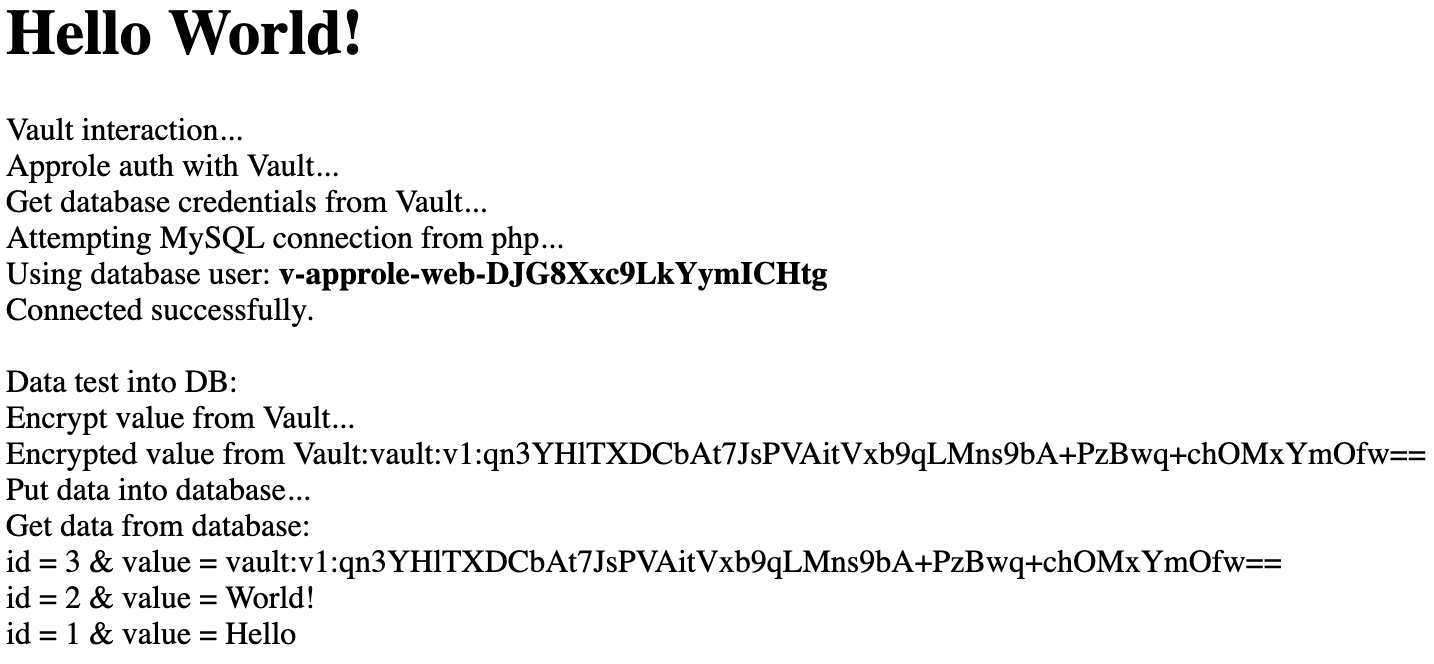
The data is static but changes each time we encrypt it (page refresh):
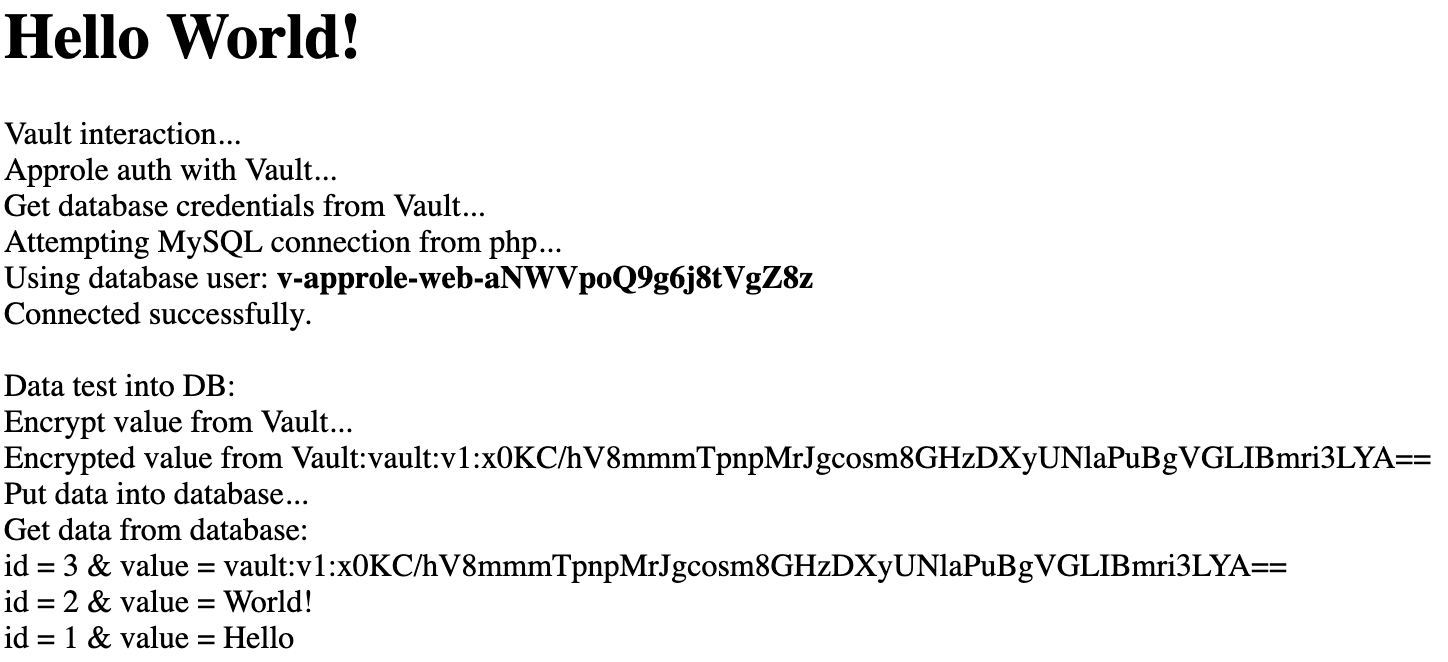
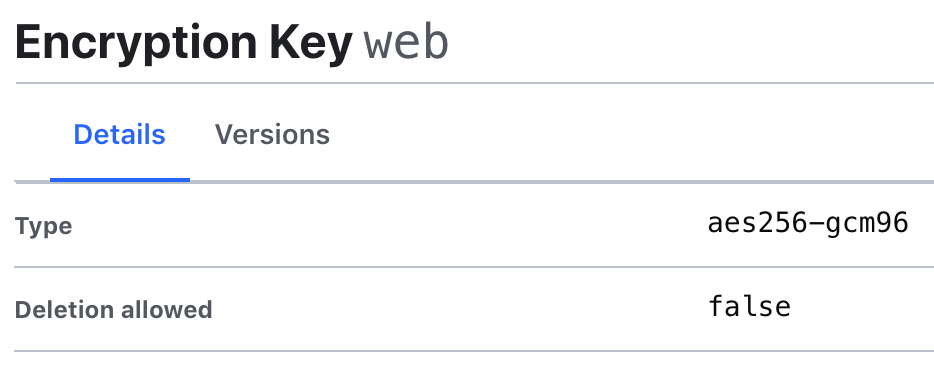
This is due to the encryption / decryption method we have chosen (eg: main.tf): aes256-gcm96
Finally, as we can see, one of the three data has been encrypted in the database. To get to the end of our example at the workflow level, we will decipher this one via the Vault’s UI interface. Of course, in a real case, the decryption action will be done via a third-party application with the appropriate rights.
To complete our workflow and complete our test, here are the steps to perform:
- Access the Vault via the UI interface: http://127.0.0.1:8200
- Use Token authentication with the following token: root
- Choose the secret engine ‘transit’ then go to the path: web
- On your right, select “key actions” then in the left column “Decrypt”
- Enter the encrypted data and click on ‘Decrypt’. In our case we are basing ourselves on the value of the previous screenshot.
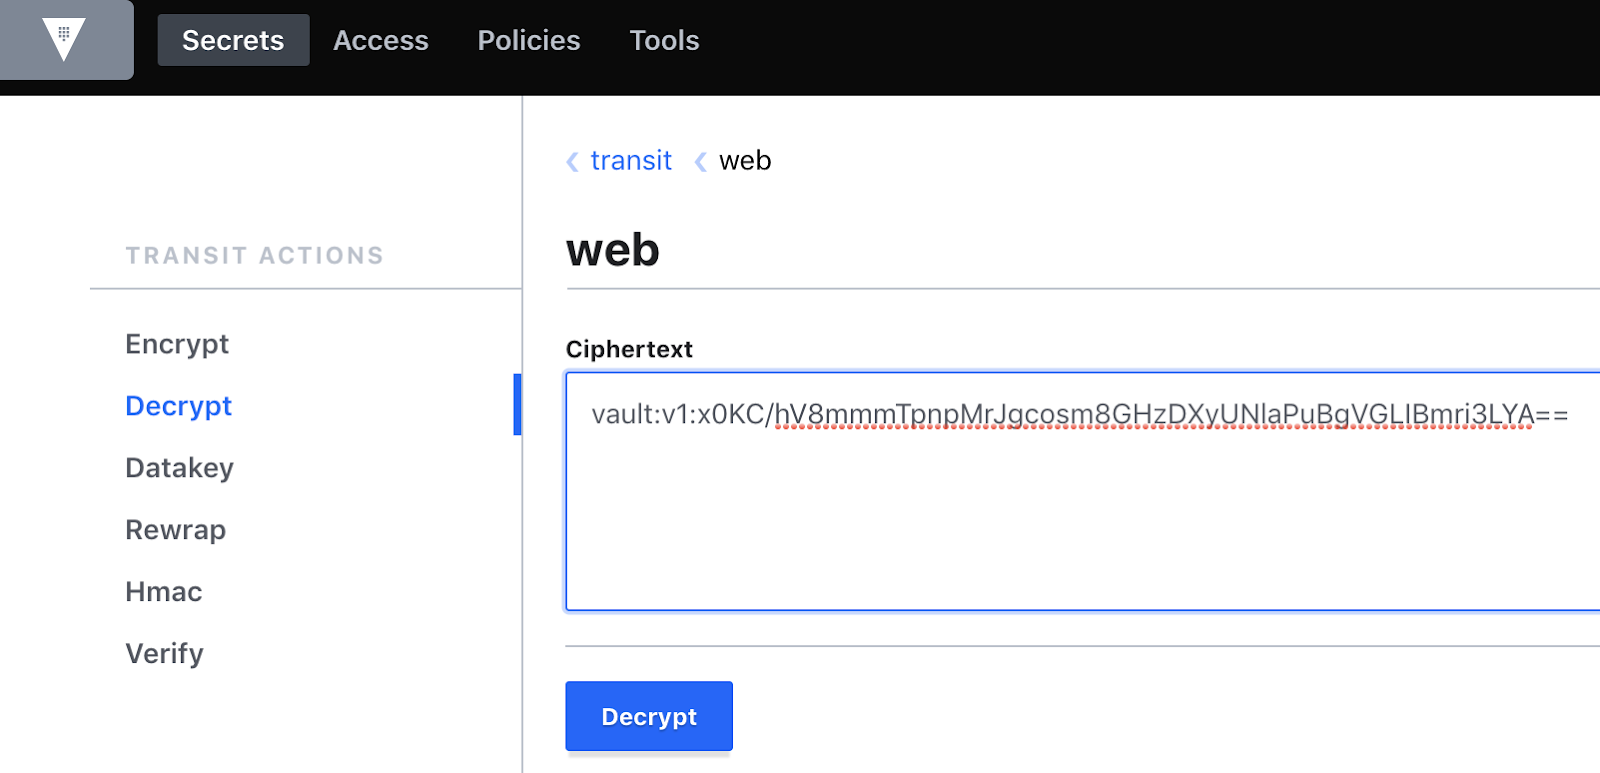
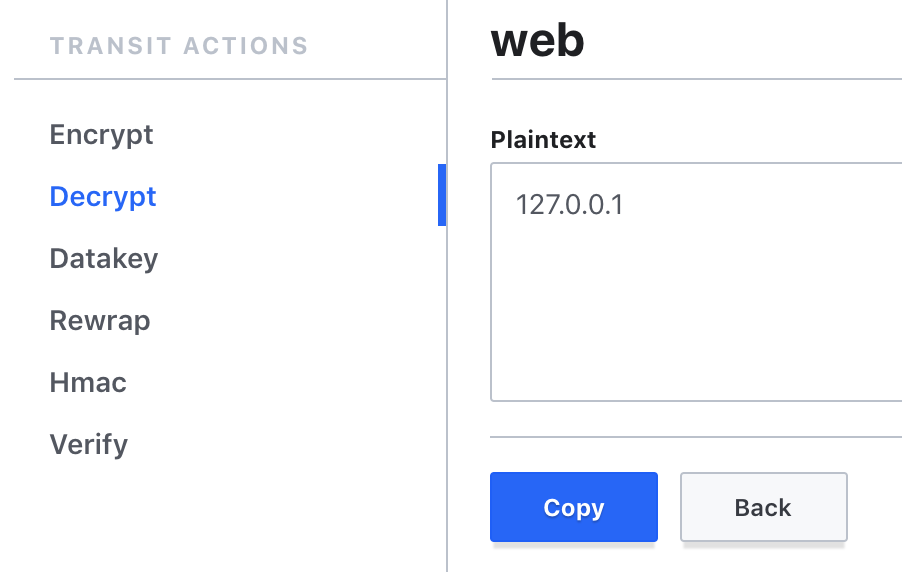
Here the secret is encoded in base64 (eg: index.php). So we have to decode it: ‘Decode from base64’.
The result will be the following:
You can iterate the manipulation over any new, freshly encrypted data.
Last point, for cleaning purposes, remember to run the following commands:
$ docker-compose down
$ docker-compose -f app.yml down
$ rm terraform/terraform.tfstate
Warning
Integrating Encryption as a Service is relatively straightforward. On the other hand, it does lead to several architectural or management questions.
For example, what about the impact on network performance? Heavy use of the service can have a significant impact on network traffic and the availability of the Vault service (example: when a database needs to frequently modify data that must also be encrypted). In this context, it may be preferable to go through an encryption / decryption carried directly by the application.
Likewise, how to secure the encryption / decryption key? This key can be easily rotated (via an API call to Vault). However, changing the key requires decrypting and re-encrypting the data. Fortunately, Vault brings a re-wrap function allowing this action to be carried out without knowing the decrypted data. It is also possible to refuse the decryption / encryption of data with an outdated key by defining the life cycle of it.
Migration key takeaways
- Vault’s Encryption as a Service is simple if you want to encrypt a portion of data (eg a few fields of information relating to an employee) and prevents the application or developers from incorporating a data encryption / decryption mechanism with key management.
- Since each data to be encrypted or decrypted must pass through Vault, the application workflow must be modified (addition, and not modification, of a few lines of code).
- The use of Encryption as a Service raises other questions, particularly in terms of the impact on network performance or how to rotate the encryption / decryption keys
- It is possible to granularly manage application rights (ex: encrypt only, decrypt only or rewrap only, etc.), as we did with our application policy. Each application therefore has a specific role in the workflow, which limits the risk of malicious actions.
Next steps
We were able to explore through three posts the features of the Vault which are: the management of static secrets, dynamic secrets and finally Encryption as a Service (EaaS).
These are the 3 standard functions. The tool allows you to go even further, in particular with:
- Vault agent which offers two main functionalities:
- Auto-auth: allows the agent to log into the Vault seamlessly while renewing the Vault token. This greatly facilitates integration with the application environment since it is then no longer necessary to authenticate with the Vault via call API. Finally, the Vault token is stored securely.
- Cache: allows to optimize requests for tokens and secrets.
- Consul Env: allows the Vault secrets to be dynamically and portable (multi-system) in environment variables. Thanks to this feature, it is no longer necessary to retrieve secrets and make them available at the application level.
- Consul Service mesh offers an additional layer of security between application services through:
- the configuration of a segmentation between services (connection authorization)
- the encryption of traffic between services through the Vault (encrypted traffic).
- Consul template allows updating of configurations incorporating secrets stored by Vault. In the context of using application certificates, it is possible, through this Vault service, to retrieve the certificates and ensure their automatic rotation.
You can find examples of integrating some of these tools with Vault in this Github repository.
As we have seen through these three posts, Vault allows us to secure and store our application secrets in a dynamic context and for environments used in an agile context.
The integration of the tool may change depending on the specifics of the target application and encryption needs. It is also important to provide all the mechanisms to facilitate transparent integration, in order to have a minimum impact on application deployments.
This last point is particularly important in the context of application deployment supported by a CI / CD chain. Thus, Vault integration makes sense if it is transparent within an agile CI / CD application chain. This issue is partially addressed in the talk below, addressing the sharing of secrets at the level of an application pipeline to make Vault integration as transparent as possible.
HashiCorp Vault Authentication Engine Backend Auth method auto-auth Encryption EaaS Encryption as a Service Cloud Database Dynamic Secrets Application Web Migration Terraform
1555 Words
2019-03-28 18:30